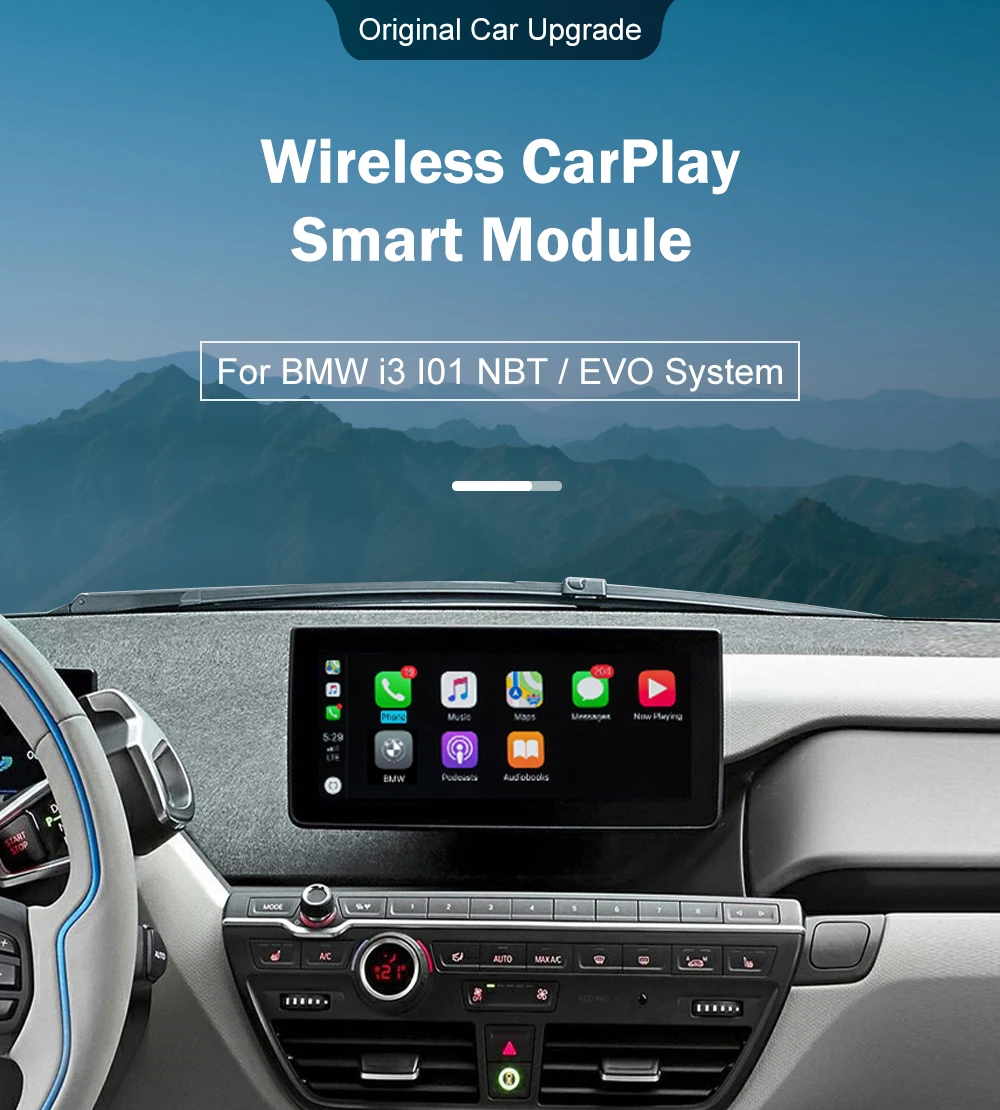
What models is the Wireless Carplay Retrofit Kit Decoder compatible with?
This retrofit kit is specifically designed for the BMW i3 I01 NBT System, model years 2012-2017. It is not compatible with the EVO system. Before purchasing, please confirm that your vehicle has the NBT system.
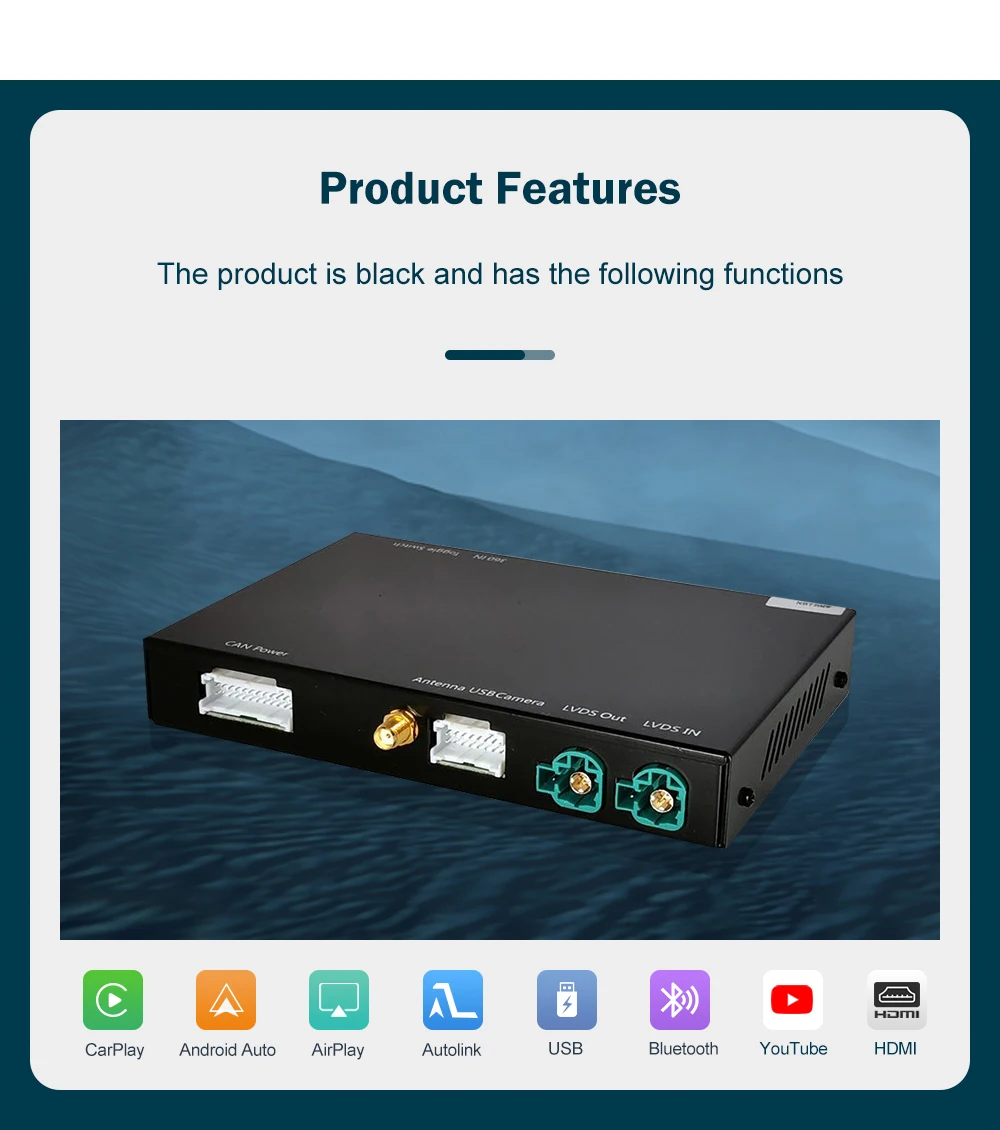
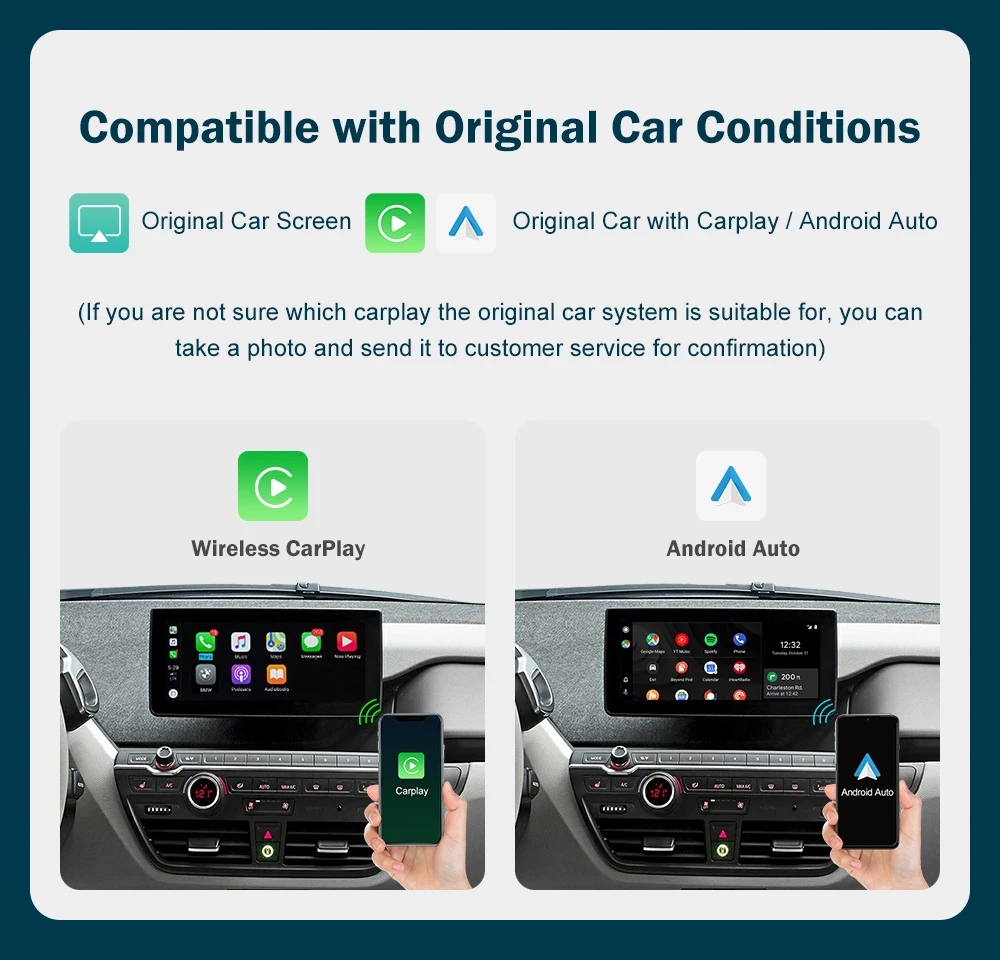
What features does the Wireless Carplay Retrofit Kit Decoder support?
The kit supports wireless and wired Apple CarPlay, wireless and wired Android Auto, Mirrorlink, factory and aftermarket reverse camera support, parking radar, front view camera DVR (CVBS input), original car knob control, and steering wheel control. It also allows you to stream apps like YouTube, view TV news, and use navigation apps
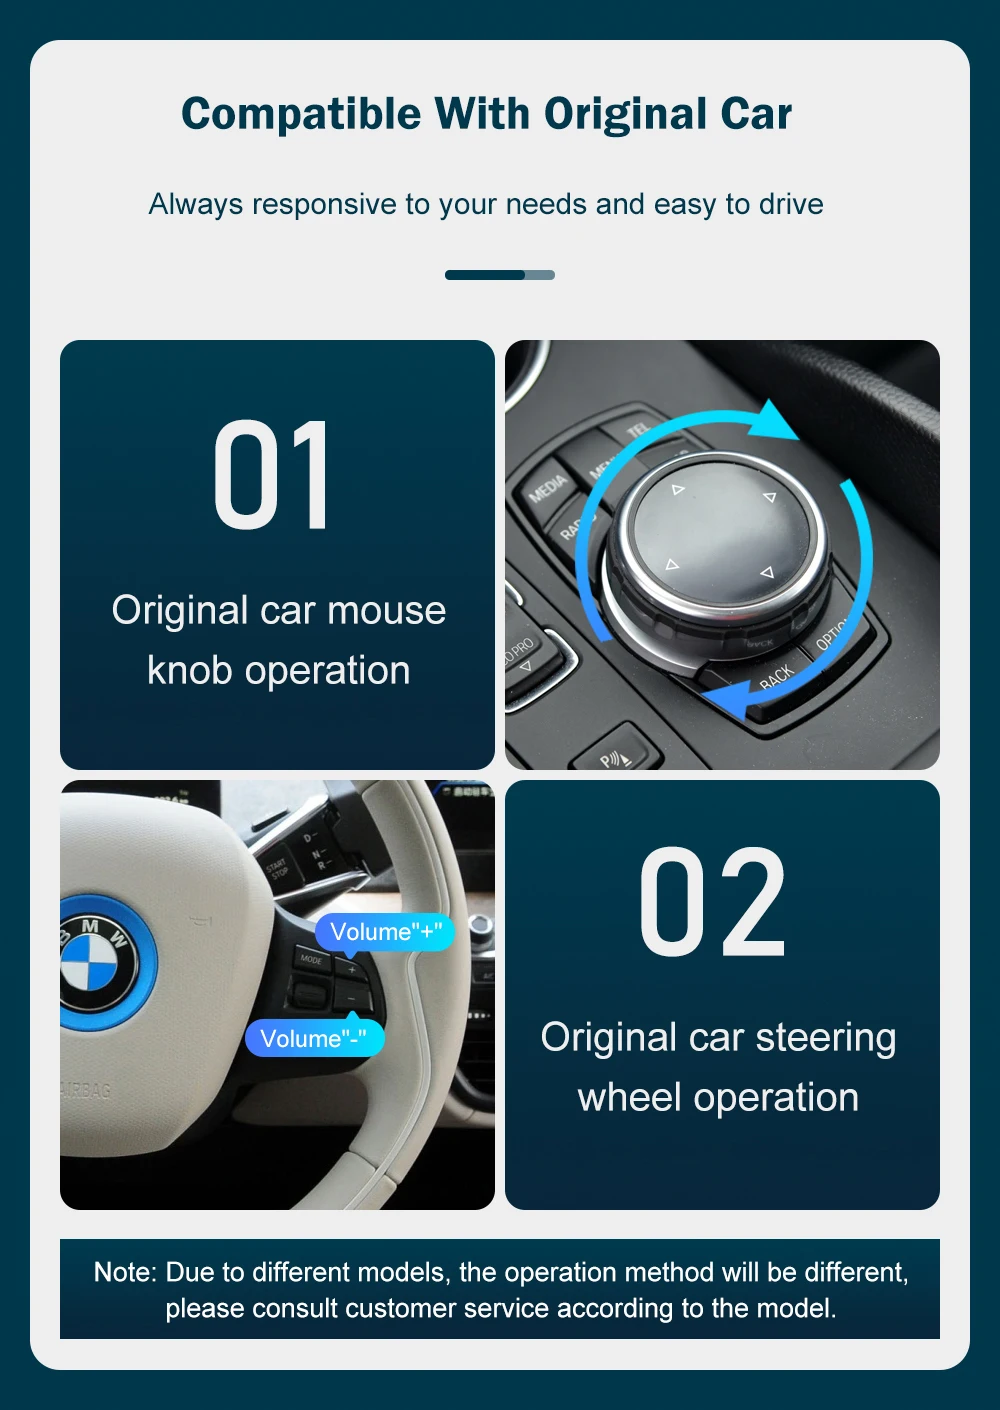
Can I use my factory car controls with this retrofit kit?
Yes, the retrofit kit supports the use of your original car knob and steering wheel controls. However, for steering wheel control buttons, only the voice control button, Tel button, and voice volume “+” and “-” buttons are supported.
How do I activate Siri voice control with the retrofit kit?
To activate Siri voice control, press and hold the voice control button on the steering wheel or long press the car knob.
Does the retrofit kit support updating to newer software versions?
Yes, the kit supports software updates. If your current software does not support certain functions like YouTube, you can obtain a new update file from the manufacturer.
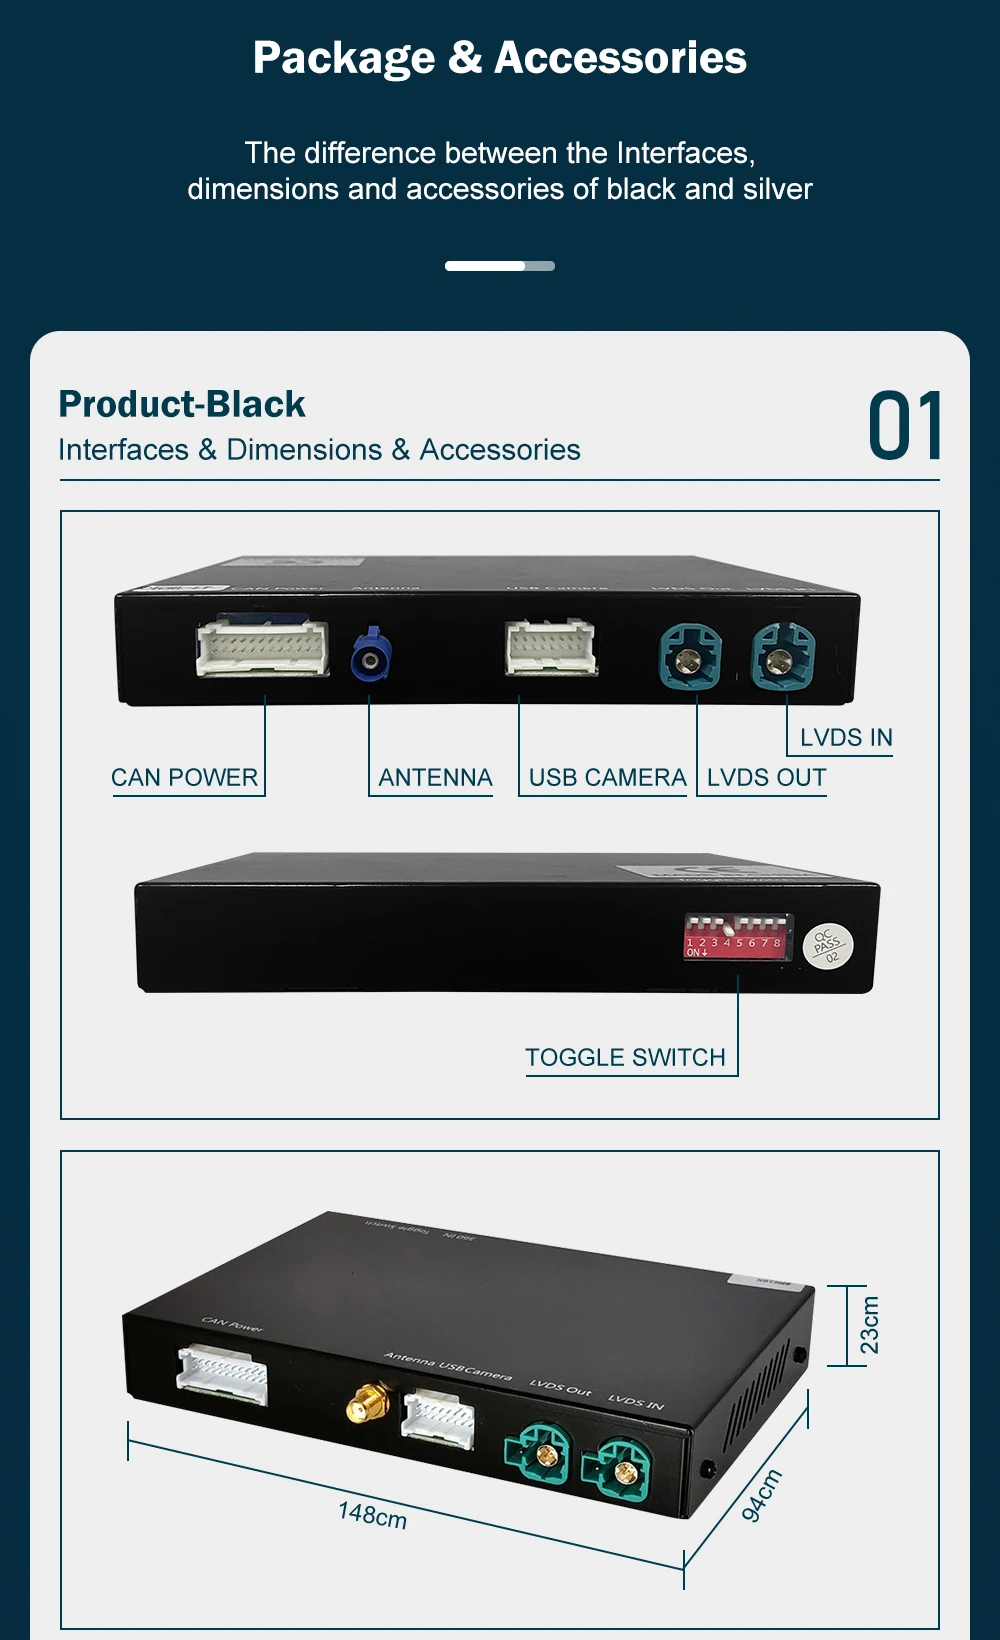
What should I do if I encounter a "no signal" error message?
Ensure that the Carplay box is placed at the car passage box position during installation. If you see a “no signal” error, it may be due to incorrect placement.
Can I install the Wireless Carplay Retrofit Kit Decoder myself?
If you are unfamiliar with how to remove the car dashboard or are unsure about the installation, it is recommended to go to a professional car shop for installation. However, for product-specific issues, the manufacturer may be more knowledgeable than the auto repair shop.
What should I do before putting everything back after installation?
Please confirm that all features, especially the sound, work correctly before you reassemble any parts of the car’s interior.
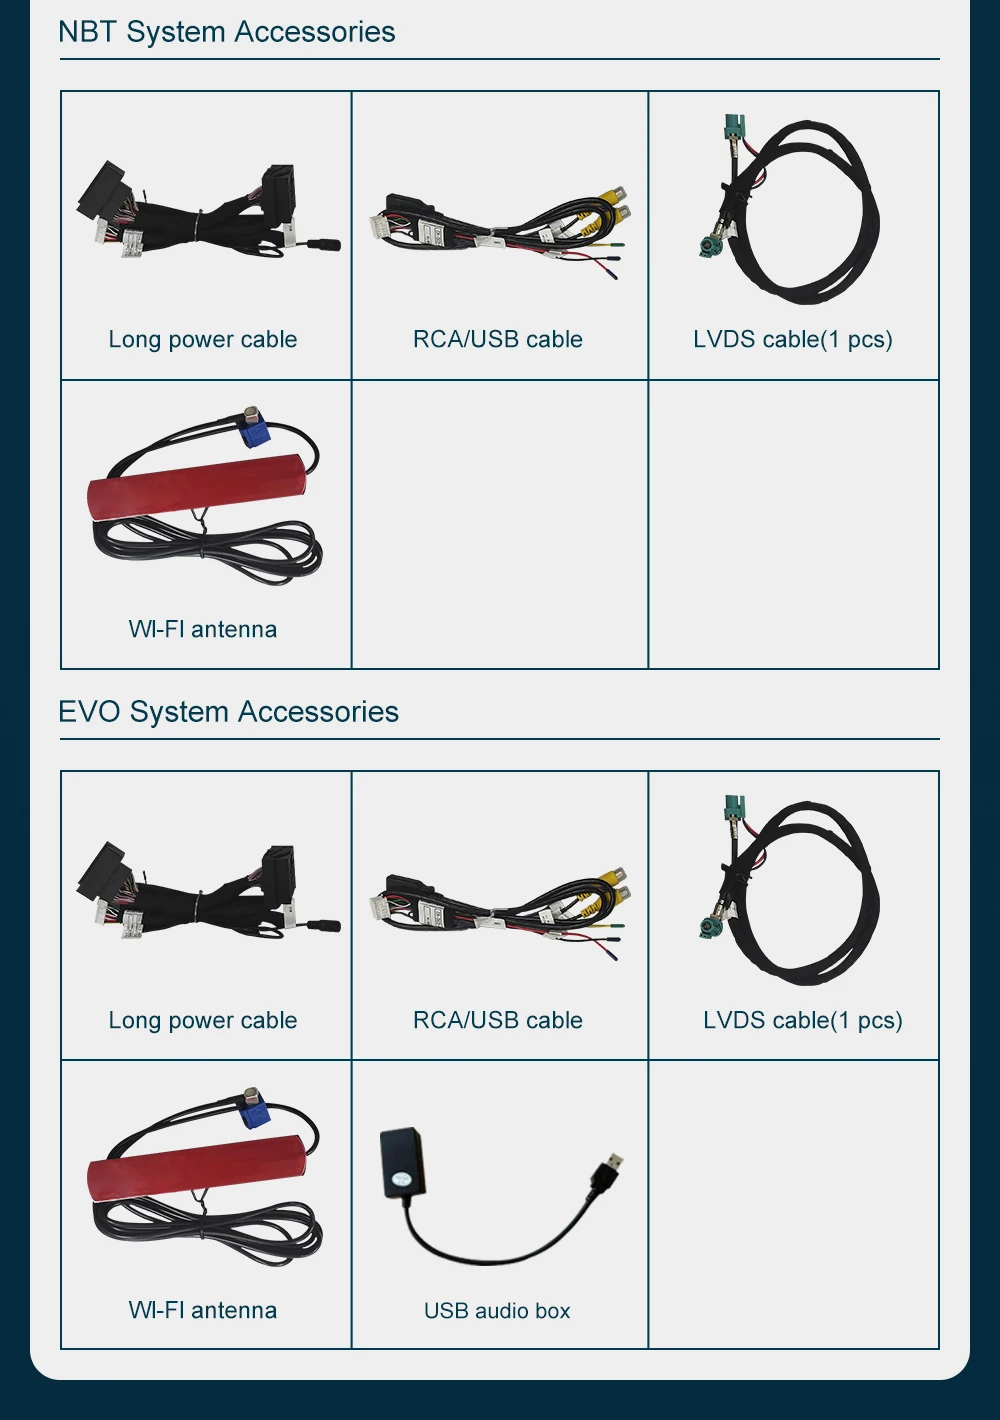
What should I avoid when installing the retrofit kit?
Do not place the Wi-Fi antenna inside of the center console. It is suggested to put it under the windshield for optimal performance.
What is the correct procedure for changing wiring or toggling switches during installation?
Always remember to turn off the car first, then unplug the power cable from the decoder box before changing any wiring or toggling switches to prevent damage or short circuits.